

I guess you are asking yourself why I did not cover binding a receiver in the last article, Its simple right? Well not a s simple as just binding!
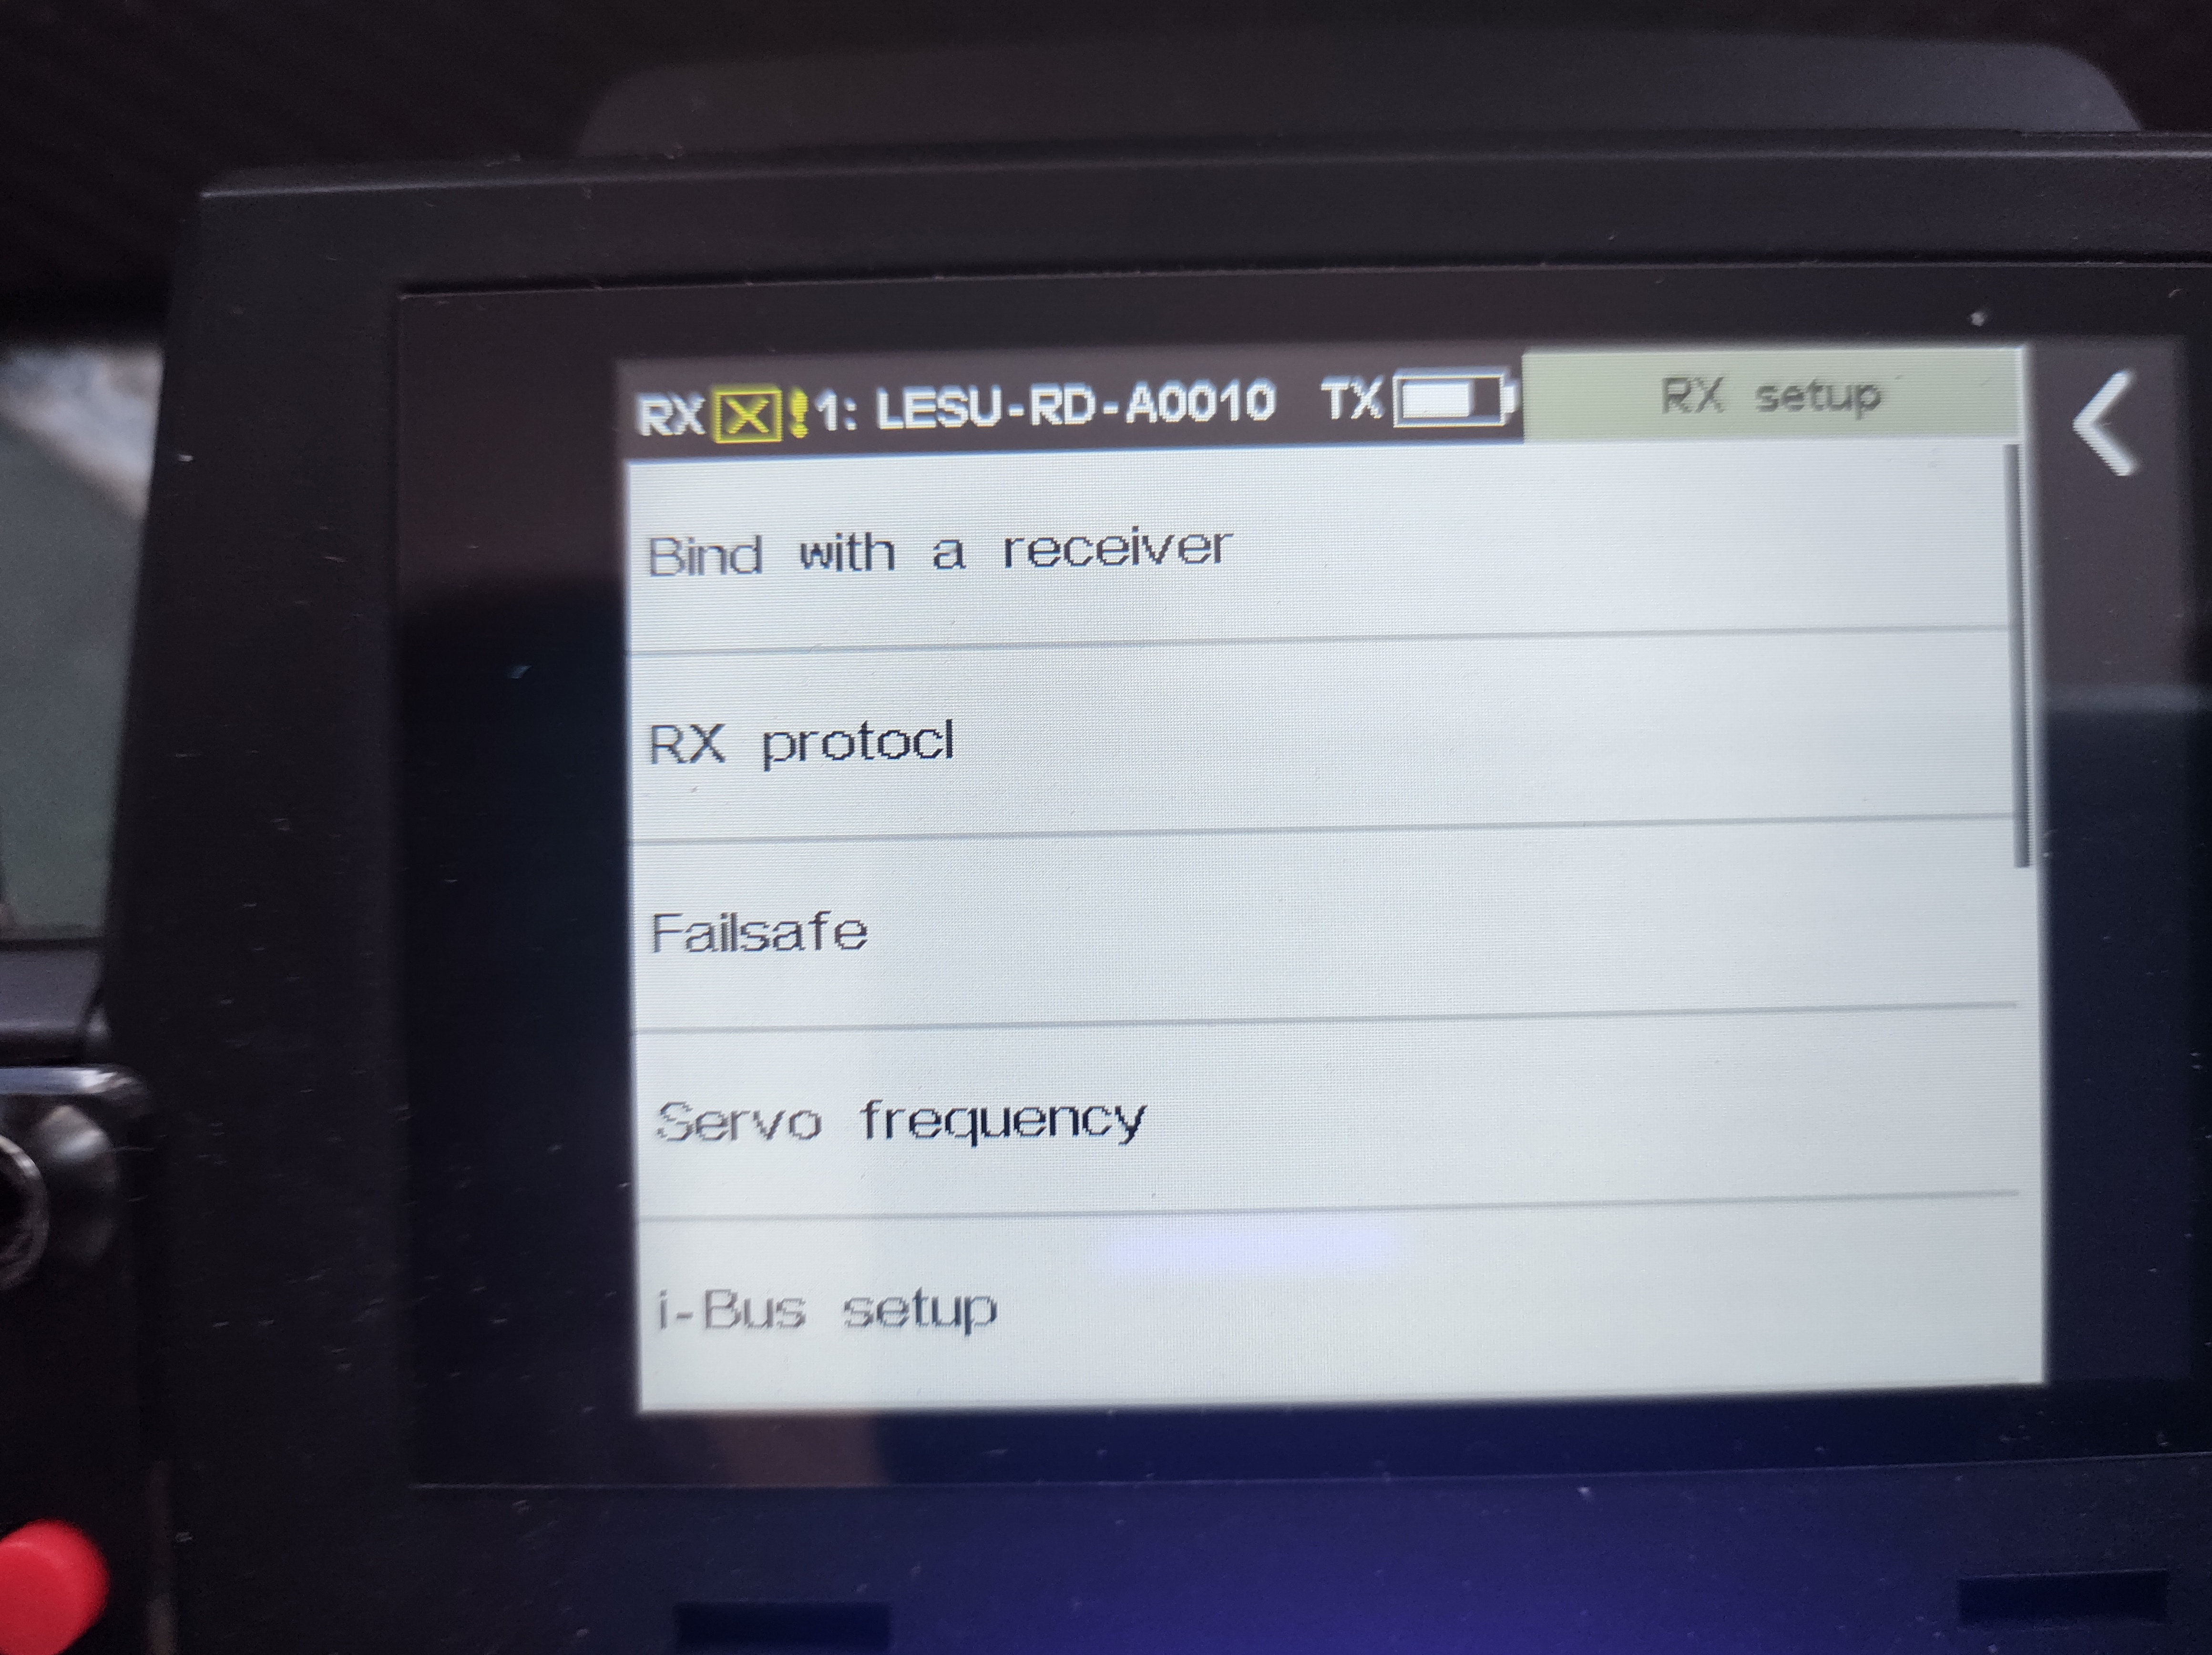
This system is rather clever and supports a number of different receivers and some different bind modes as well. First things first though. To bind a receiver first put it in bind mode. Depending on the receiver type that means either inserting a bind plug or holding down the bind button and then turning the receiver on. On the transmitter go to the model you want to bind (models menu and select the model) then go to the RX set up menu.
The RX set up menu has a few different menus that we will come back to including RX protocol and Failsafe. For now go into the Bind with a receiver menu , and you will now see how a simple bind is not that simple.
There are 4 different types of bind listed. All of the bind types allow you to select one or two way radio. Two way allows you to see sensor data such as the receiver voltage, unticking the box and you revert to one way communications. I have not tried but on other radios this allows you to bind two receivers to the same model, they will both output the same data.
Classic is the type of bind that you know and understand but when you click the green bind box you will get a message pop up as in the picture below, explaining that this system only supports a range of receivers.

This includes the FTR10 most of the 4 channel receivers FTR16 and mini ZRF. You cannot bind the others. Click the bind and you are done. The receiver led will go solid and the model will now work.
The Fast 8 ch menu item provides a faster refresh rate but to only 8 channels. Many newer servos can support this rate but not all. Only the FTR and FGR 8 and 12 channel receivers are supported (at the time of writing). The Start channel box cannot be accessed so the start channel is 1.
Lora is for use with the Flysky Lora module so we will ignore that.
Routine 18ch does not support the list of receivers stated earlier! At present that leaves the FTR and FGR 8 and 12 channel receivers. It allows you to bind one or two receivers to the same model.

You can select the start channel for each receiver so for example with and FGR12 and an FGR8 You have 20 channels available You can start the FGR12 at Ch 1 and the FGR 8 at ch 13 that leaves two channels over. Or you can start at Ch11 which will duplicate Ch11 an 12, they will be available on both receivers. Or you can configure the spare channels for sensor inputs.( Thats for later)
To bind a receiver, put the receiver in bind mode, select which receiver number you want to bind it to, select the channel you want to start its output at and click the bind button. If you have set up for two receivers then repeat that for the second receiver. If not you are done and the receiver(s) should now have solid LEDs and work.
Thats it for the bind but now we need to go and set the failsafe. Back to the RX set up menu and select Failsafe . You can see the current failsafe state as in the picture below.

To set the failsafe for a channel tap the channel and you will get some choices.

Pick the one that you want, If you want a fixed value, you can select the fixed value which is 1500 by default (centre stick). If you want a different value e.g. for a pump then you can tap the box with the number in it, set the control to where you want and click the back arrow at the top of the screen. There is a set all channels option at the bottom of the screen where you can do them all at once ( this does not work on "lite" versions), then set the odd ones separately.
Thats it for now but these are hugely complex bits of kit so more soon.